

INTRODUCTION:
The first part of this series covers the absolute basics of HTML, where we define HTML elements, attributes, tags, and other important features needed to make an HTML document. This article is made specifically for beginners but a basic knowledge of how to create and manage computer files is needed.
History of HTML
In 1989, physicist Tim Berners-Lee and Engineer Robert Cailliau wrote a memo proposing an internet-based hypertext system which was publicly adopted and available in late 1991 as "HTML Tags".
What is HTML??
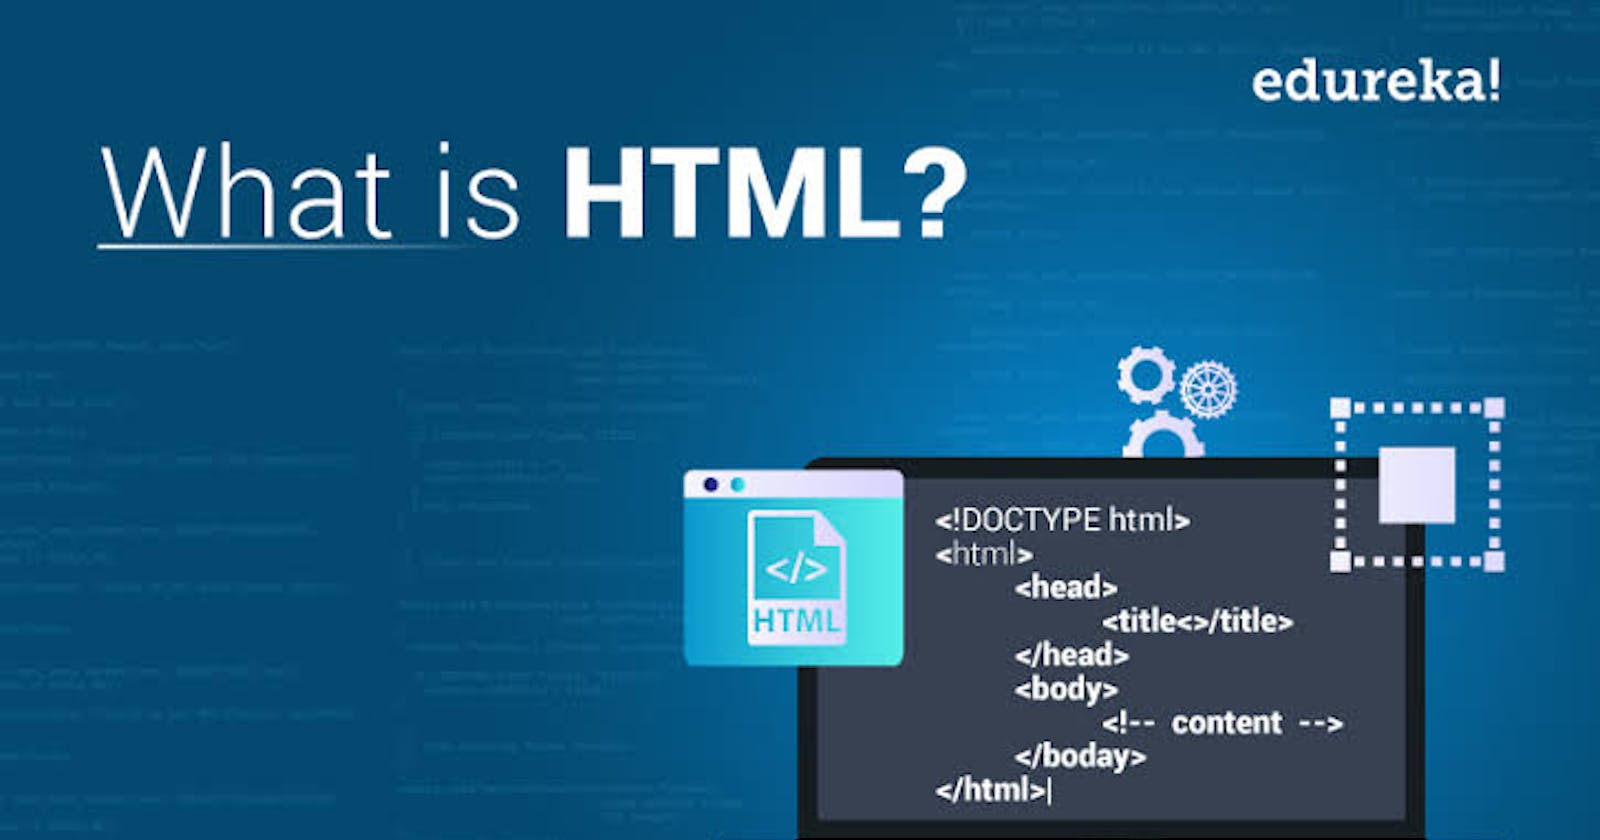
HTML means Hypertext Markup Language.
Hypertext means that a text or document contains links to other texts that allow users to move to other texts in the document or to another document in totality.
A Markup Language is a format for annotating a document in a way that is syntactically distinguishable from the text. It is a way that computers communicate with each other to control how documents are processed and presented. Put simply, HTML is a standard markup language for writing documents meant to be displayed on web browsers.
HTML Markup
HTML markup consists of "document type declaration ", "attributes", "tags", "character-based types", "character references" and "entity references ".
Document type declaration:
Document type declaration is also known as DOCTYPE is an instruction that defines the version that an HTML document is written in. The current version of HTML is HTML 5.
It is the first line of code written in every HTML document.
HTML TAGS:
HTML tags are used to mark up the beginning of an HTML element and are always enclosed in angle brackets <>. Most HTML tags come in pairs, with an opening and closing tag while others are unpaired with just an opening tag. Examples of unpaired tags are: <br>, <hr>, <img>.
HTML ATTRIBUTES:
Attributes contain additional information about an element. It modifies the functionality and behavior of an element. It is placed in the opening tag of an element.
An example of an attribute is:
Example 1
<img src ="mylogo.jpg " alt = "My company logo.">

Example 2
<img width="400" height ="300" >
Explaining Example 1, src stands for the image source while the alt stands for a brief description of the image. So, alt and src are attributes of the element img.
The width and height attribute in Example 2 with values 400 and 300 respectively will make the image 400px wide and 300px high.
HTML ELEMENTS:
An HTML element is defined by a start tag, some content, and an end tag. It is defined as everything from the start tag to the end tag. It contains the start tag, element content and the end tag. Example:
<p> Hello Hashnode! </p>
Nested HTML Elements:
HTML Elements can be nested which means that they contain other elements. All HTML documents contain nested HTML elements.
Examples of nested HTML elements are: <html>, <body>, <div> <p>.
<!DOCTYPE html>
  <html>
      <head>
           <title>
               Nested Elements
           </title>
       </head>
       <body>
           <div>
                <p> This is my first time writing an <strong> HTML document </strong> </p>
          </div>
        </body>
   </html>
Empty HTML Elements:
Empty HTML elements are those elements with no content and no closing tag. An example is the <br> tag which defines a line break in an HTML document.
GETTING STARTED
Having read through the basic theory, the tools needed to write your first HTML documents are:
1). HTML Text Editor: This is where you write your HTML code. There are many text editors in your app store. Examples:
• Visual Studio Code[ popularly known as VSCode ]
•Sublime Text 3
•Notepad++
•Komodo Edit
•Atom
2). Web Browser: This is where the result of your HTML document is displayed. Examples: Chrome, Mozilla Firefox, Internet Explorer, Opera Mini.
Writing your First HTML Webpage.
Step 1: Create a Folder
Create a folder for your project using any naming system you're convenient with.
Step 2: Open a Text Editor
Open the folder created with the text editor of your choice and type the example below:
<!DOCTYPE html>
  <html>
      <head>
           <title>
               This is a title
           </title>
       </head>
       <body>
           <div>
                <p> Hello Hashnode! </p>
           </div>
        </body>
   </html>
Above is an example that will display a "Hello Hashnode! " on the web browser.
The text between the <html> and </html> describes the web page while the text between the <body> and </body> is the visible page content.
The <head> is where the metadata for the page is entered and is meant mostly for the search engines.
The <title> is included inside the <head> tag as it defines the name of the document and appears at the top of the browser tab.
The <div> tag is used to divide the pages for easy styling.
(The next article will discuss HTML tags and their meanings)
Step 3: Save the HTML document
To save the HTML file, give the file a name and use the .htm or .html as file extension. Set the encoding to UTF-8 (which is the preferred encoding for HTML files).
Step 4: View the HTML page in your browser
Open the saved file in your preferred web browser by double-clicking on the file. Or right-click and choose "Open With".
What Next?:
After getting acquainted with the basic theory of HTML and how to display a simple document on your web browser, the next in this series, will discuss how to format and style your text using HTML text formatting tags.